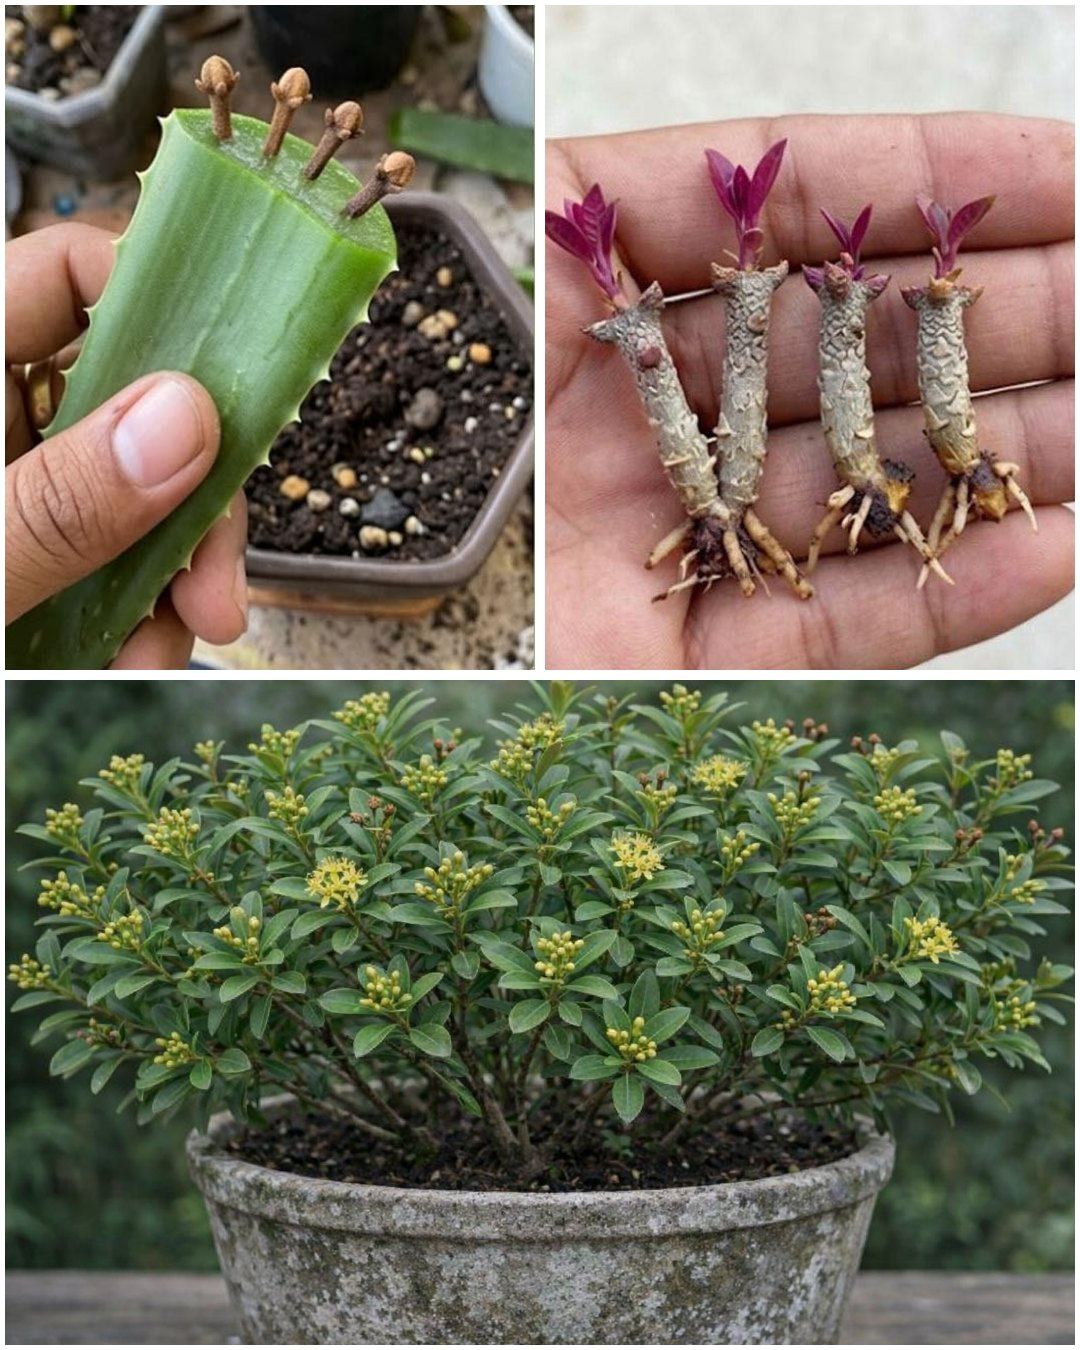
Clove seeds require a well-draining, nutrient-rich soil mixture for optimal growth. Prepare a planting medium using a combination of organic compost, perlite, and sand to ensure proper aeration and moisture retention. Fill small pots or seed trays with the planting medium, leaving some space at the top for the seeds.
Step 3: Planting Clove Seeds
Plant the clove seeds approximately 1/2 inch deep into the prepared soil, spacing them evenly apart. Gently pat down the soil to ensure good seed-to-soil contact. Water the seeds thoroughly but avoid oversaturating the soil, as clove seeds are susceptible to rotting in overly wet conditions.
Step 4: Providing Optimal Growing Conditions
Place the pots or seed trays in a warm, sunny location with indirect sunlight. Clove plants thrive in temperatures between 70°F to 85°F (21°C to 29°C) and require consistent moisture during the germination period. Keep the soil evenly moist but not waterlogged, and ensure adequate airflow around the seedlings to prevent fungal diseases.
Step 5: Transplanting Seedlings
Once the clove seedlings have developed several sets of true leaves, they are ready for transplantation into larger containers or directly into the garden. Choose a well-drained, sunny spot in your garden with fertile soil for transplanting. Space the seedlings approximately 10 feet apart to allow ample room for growth.
Step 6: Caring for Mature Clove Plants
As the clove plants mature, they will require minimal maintenance to thrive. Water the plants regularly, especially during dry periods, and apply a balanced fertilizer every few months to promote healthy growth. Prune the plants as needed to maintain their shape and remove any dead or diseased branches.
Step 7: Harvesting Cloves
read more in next page